As a matter of fact, a lot attention has been paid on redesigning the shopping carts to reduce cart abandonment rate.
Numerous ideas have been generated and adopted by the ecommerce owners to optimize their shopping carts.
But… they have forgotten one of the most influencing solution!
Can you guess what it is?!!
Checkout process?…. Navigation?….. Payment modes?…. Cart design?
No..none of these!!
The most ignored yet the most important factor in making your cart convertible is ‘Product Photography’!
Didn’t expect this one right?
I knew it!
This is the reason I have chosen it to be the topic of discussion today!
Though product photography has not been given the due importance, in fact it is taken as the most casual step in designing your cart. But this doesn’t make it any less important.
If we really get the concept of online shopping, we would realize how important it is to have proper photos along with every deal.
Remember:
When your customer is shopping while sitting on his couch, he sure is seeking ease and comfort. But his requirement for ease and comfort doesn’t mean that he will buy anything which comes in his way.
The customer still wants to be sure about what he is purchasing online, obviously because he is paying money and not purchasing something for free.
So stop hiding your products from your customers..
Show them clearly what you are offering!
Now:
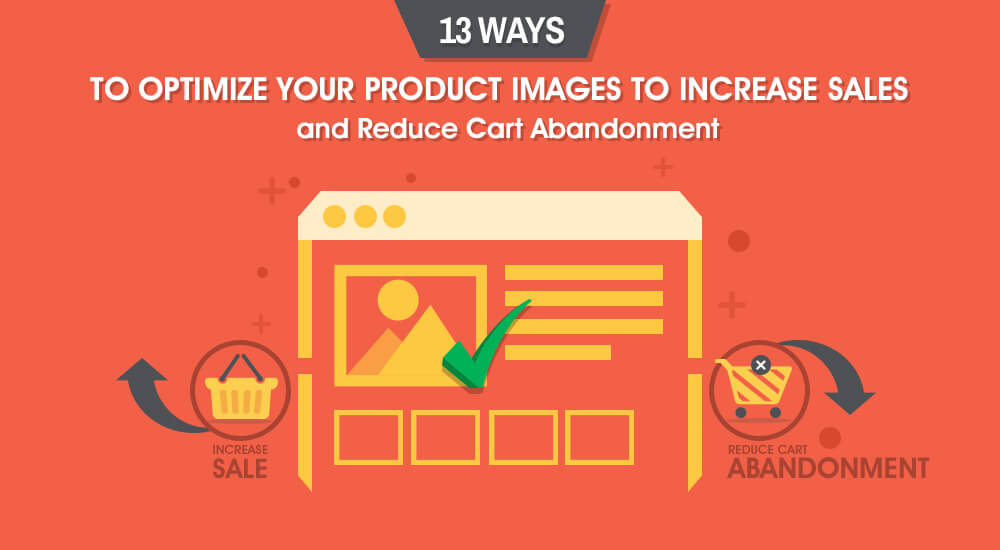
I’m going take you through some awesome tricks through which you can optimize your Product Images and have a lot more conversions.
Contents
13 Amazing Ways to Optimize Product Images and Reduce Cart Abandonment

Have the Copyrights:
Always own your copyrights for every single picture that you put on your website. No other site should be allowed to use your pictures…
And for that you have to have a proper check on your images.
Never forget to set EXIF (exchangeable image file format) format because it sets special meta tags to define the picture. It has details like:
- Date & time
- Location
- Camera model
- Descriptions
- Copyright information
Remember:
You can even sue the website which steals your images. And checking if someone has taken your picture has become too easy now. You simple have to to put the image on google images and check where it has been used.
Keep a regular check and be strict on the copyrights. Nobody should be given the liberty to use your pictures without your permission.
Prefer High-quality Images to reduce cart abandonment:
Compromising on the picture quality on your ecommerce site is big ‘NO’.
Always put the high quality pictures first because the customer wants to see the best form of your product and certainly not some low resolution pictures.
See the quality of this Tea Basket Hamper’s picture on an ecommerce site. In fact many other sites copied this image as well.

Take the Bigger Picture:
A study conducted by Forbes states that 50% of the total online buyers prefer large images. The buying decisions and the reviews are much better in case of large images.
Yes, it is well-researched that your images should be around 1080-1600 pixels on the longest side.
Larger images have another advantage, they can be zoomed and that too without pixelating.
Choose Plain Background:
Another best option is to have clear white background so the whole focus lies on the product only and nothing distracts the view.
This can be easily done by using the Pen Tool in Adobe. Removing the background is no big task. Just do it to bring more focus.
See how this shopping site has used plain background and made this shirt come in the limelight.

More Sizes More Conversions:
Adding product images in various sizes is the best favour you can do to your site.
Customers like to see the product from every angle and having smaller and bigger picture would give them a detailed view which would eventually make them comfortable.
The smaller versions can be given with the product and the bigger will appear as the customer clicks on the product and is really interested in buying. This would allow fast
See below, how brands should give detail and zoom views of their products. This gives a complete look of the product to the customer and motivates him to make the buying decision.

Here are 10 Awesome Tips to Choose the Best Image Sizes for an Ecommerce Site!
Images from all Dimensions:
Customers these days are very picky and choosy, they like to dig out the product from every angle. The reason is not being able to touch and see the product directly as well.
If they are really trusting your product quality…
Then let them have full satisfaction as well. Show the product from different angles, zoom in, zoom out.
See how this online store showed the pictures of the shoe from numerous angles so that the customer feels comfortable in buying. This would also develop trust among the buyer.

Add Thumbnails:
Adding thumbnails is another awesome strategy to keep your customer stick to your cart and reduce the checkout abandonment rate.
Adding thumbnail throughout your checkout process make steh user believe and keep him focused on what he has bought.
Cut down Image File Size:
Bigger images or heavy images increase the page load time, hence making the buyer run away because he has too many options and he doesn’t have to wait for so long.
It is ideal to keep the image size below 70kb. This will make the page load in much less time than the usual.
A number of online resizing tools is are available which can adjust the picture sizes without reducing the quality. Checkout Pic Resize, Resize Pic TinyPNG and Web Resizer.
Check more Image Resizing Tools.
Select the Suitable Image Type:
There are three main types of images that are used on websites.
- PNG
- JPEG
- GIF
PNG is considered to be the most trending type because the image quality it gives is really good one.
JPEG is comparatively an old type, gives a normal quality picture but used by many users.
While GIF is an animation type usually used for decorative images but certainly not good for complex images.
If we talk about what type of images we should actually use, then I would guide you with some brief details…
JPEG is more useful for lossy and small images. It does not preserve transparency. While GIF preserve transparency but it is suitable for images with limited colors only. PNG is lossless and is suitable for large images. PNGs also provide large background images without jagged edges.
Check out this detailed analysis on the Types of image you should use.
Keep Updating:
Now if you have chosen the right images and have done a lot of homework while selecting them, it doesn’t mean that you wouldn’t have to update them later.
Updating images as the website develops everyday, is equally important as putting the images at the first place.
Just like the content, images also require constant update. You have to put new images or edit the old ones along with changes you make on your site.
Optimize Images with Keywords:
Naming the picture is also an art. Only putting the relevant pictures is not the end but for optimization and better SEO, you should name the pictures with the relevant keyword so that it comes in the research when someone searches for that keyword.
See, pictures can also boost your traffic. It is not only the keyword in the text but the product photography as well.
This would cut down your shopping cart abandonment and eventually increase your sales.
Check this page below which has named the products with the perfect keywords.

Alt tag is the part of coding. It should basically describe the picture in detail, not necessarily keyword optimized but more like an appropriate description in about 125 characters.
On the other hand title is the name which appears when someone brings the cursor on the picture, it is also a description and can be the same as alt tag.
But the purpose is to bring your picture in the main search.
Keep checking Page Load Time:
The other important step is to check how much a page is taking to load. This will let you know about the size of the photos and how much delay it is giving to your web page.
If it’s taking too long. Then change the photo, it’s size or the type.
You would definitely have to work on the images to cut down your page load time.
Using CSS image type instead of images is a better option or simply reducing the image sizes will also reduce the page load time.
Resizing the image plus using SRC along with a valid URL is the best option too.
Conclusion
Images definitely play a huge role in reducing the cart abandonment on an ecommerce store or simply increasing the sales.
And if the same images are optimized correctly, then it adds up to the deal and makes that site a perfect one for the buyers. So watch out whenever you are using images on your site.
Here’s a BONUS Plugin for the Best Image Optimization Tools.
I hope this post helped you in giving some important tips. Hope you would have a Happy Image Optimization!